Create a Project
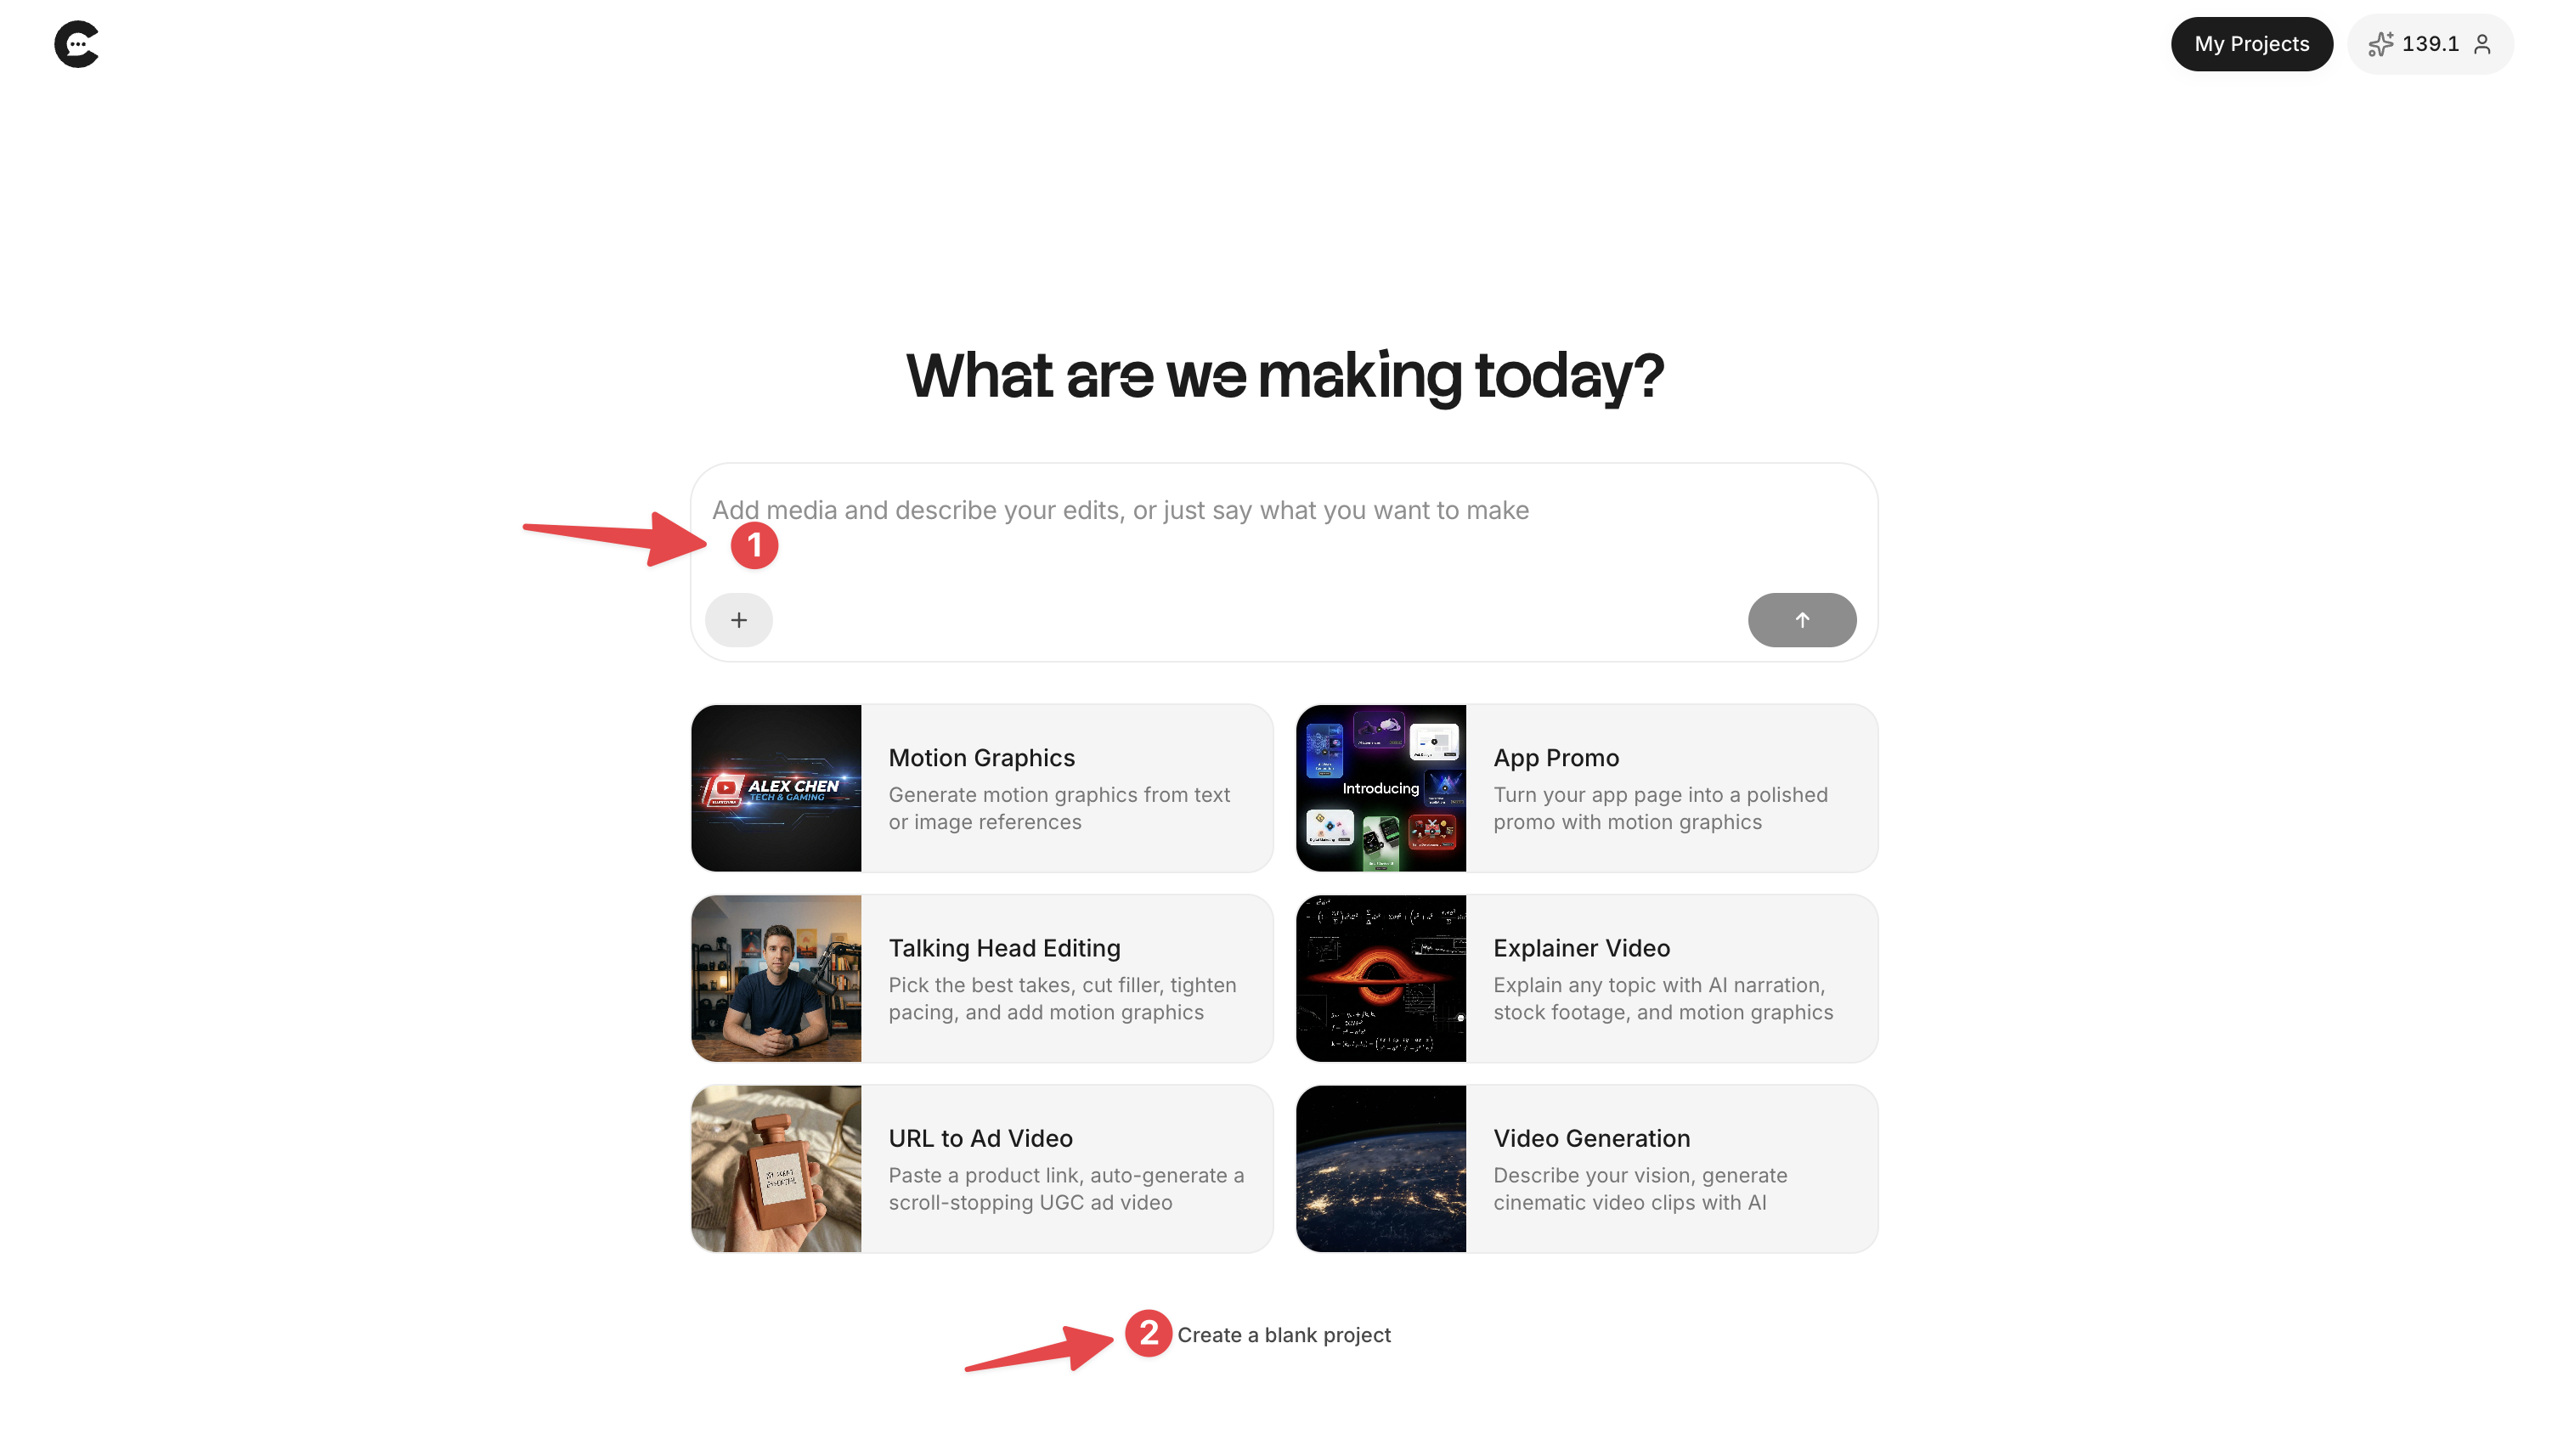
- Upload your media directly in the prompt bar and send your prompt. You’re also welcome to use the Skills we’ve prepared to get started right away.
- You can also click Create a blank project to go directly into the editor.
- Previously created projects live under My Projects in the top-right corner.
Editor Overview
The editor is divided into five sections:
- Agent
- Player
- Media
- Timeline
- Menu
The layout and size of each section can be adjusted to your preference.
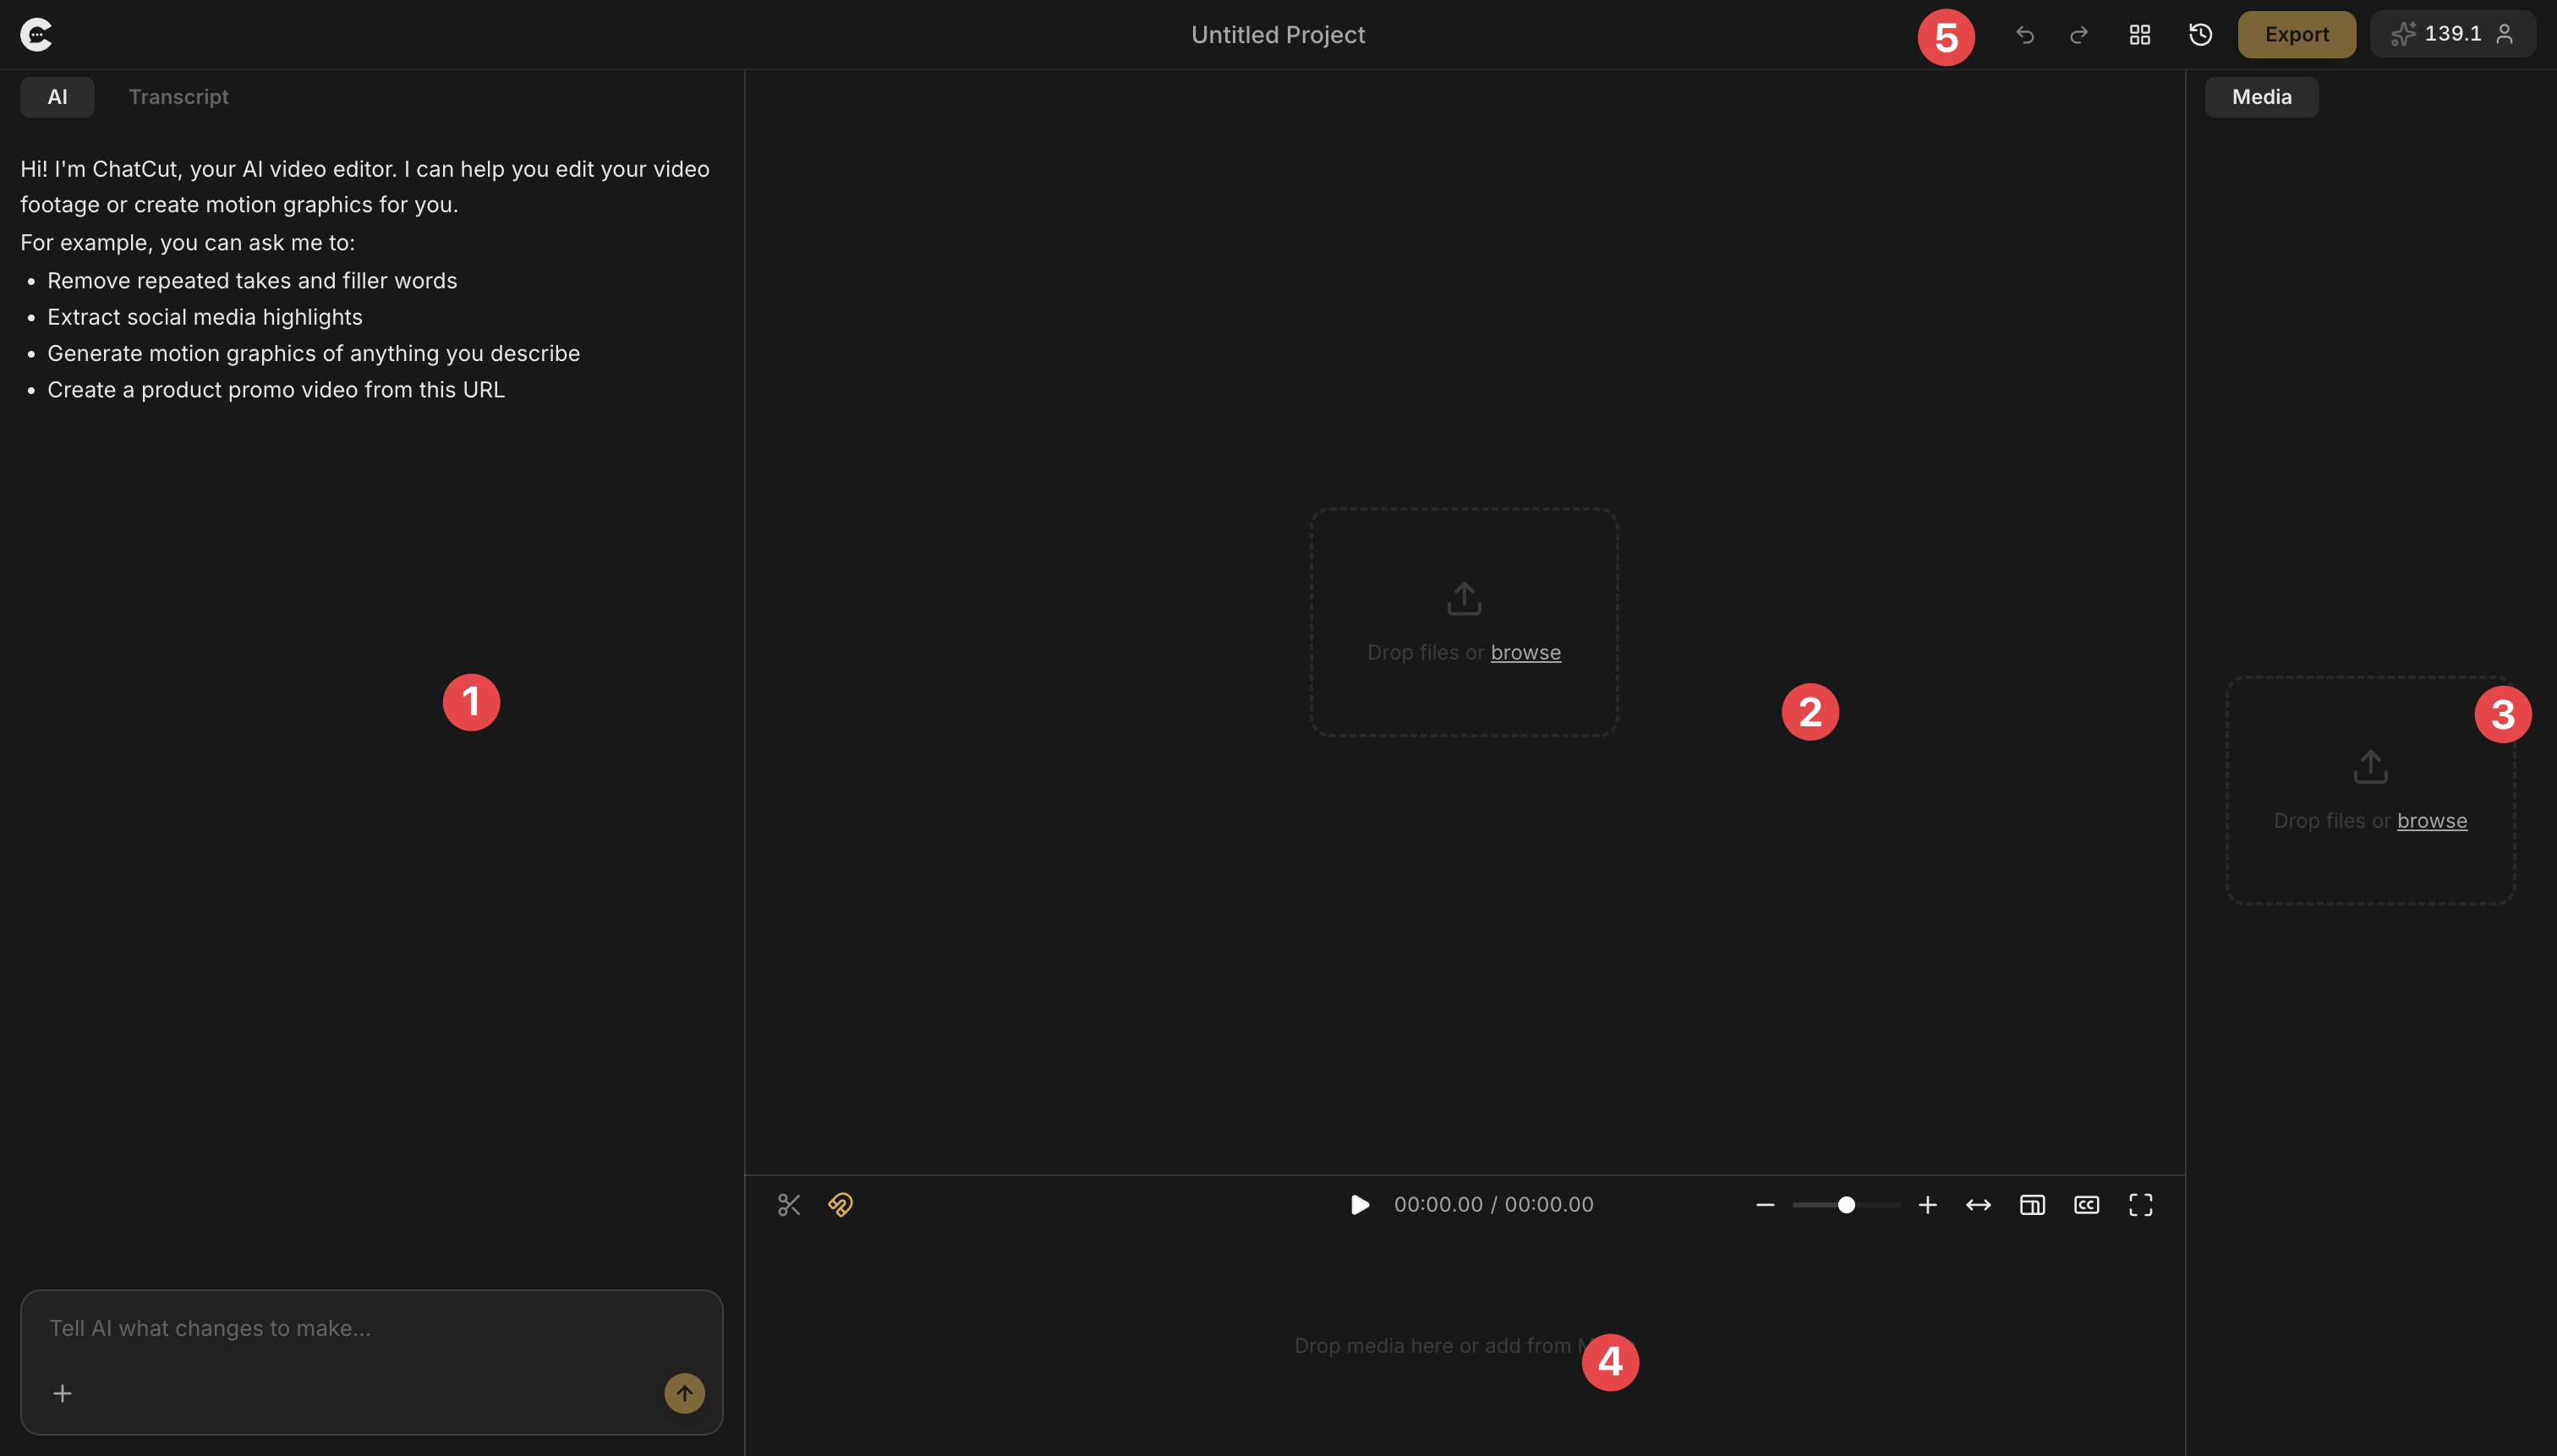
Agent
This is where you interact with the ChatCut Agent. Ask it to edit videos, generate motion graphics, download media, write scripts, and more. Type any creative request and let the agent handle it.
We currently support uploading images and videos in the chat. Drag media directly into the chat or click the + button in the bottom-left corner.
If the video you uploaded contains spoken content, click Transcript in the top-left corner to get a transcription. From there you can edit the video by editing the text, and modify subtitles too.
Player
Preview your edited work here. The icons in the bottom-right corner toggle the timeline, adjust aspect ratio, and adjust subtitles.

Media
Drag and drop media directly into the Media library. Media dragged into the chat or timeline is automatically synced to the Media library. AI-generated content is automatically added to the Media library.
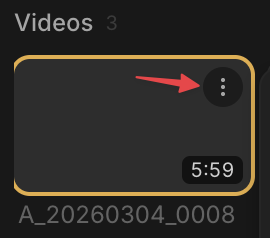
Click the three-dot menu in the top-right corner of any media item to download or delete the asset, or to retry transcription.
Timeline
Drag media from your local files or the Media library directly into the timeline. Use the scissor tool in the top-left corner to cut and trim clips.
Menu
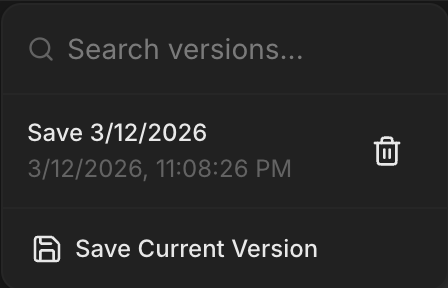
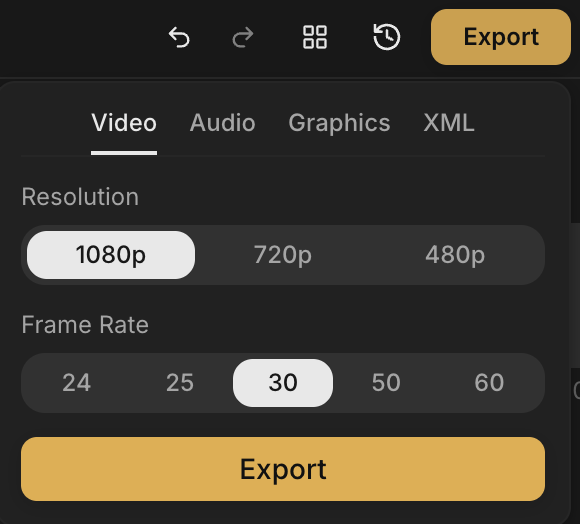
The buttons from left to right are: Undo, Redo, Adjust Layout, Save Version, Export.

Save Version: save your progress and revert to any previously saved version at any time. Export up to 1080p 60fps as Video, Audio, or Motion Graphics animations.